Lots of tech tasks benefit from side-by-side apps or browser windows. Selecting a system? Take notes in one app with technical specs displayed in another. Writing a sequence of steps? Draft an email in one window while you work through the process. Documenting settings? Refer to the configuration as you type details into a file.
The key controls below cover how to rapidly snap apps to one side of the screen with your keyboard on Chrome OS, Windows, iPadOS and macOS. People who often use different operating systems might find this quick visual reference helpful.
How to make a split screen on Chrome OS
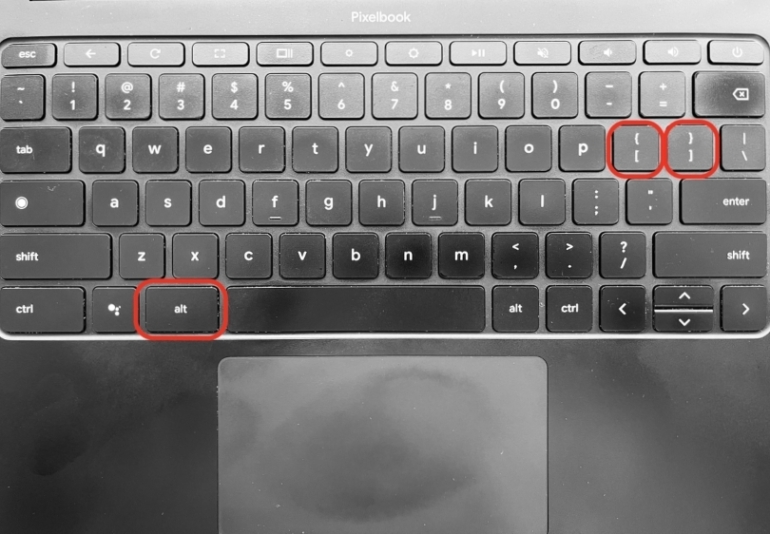
Key combinations on Chrome OS alternate app/browser windows between two positions. On a Chromebook, the alt key combined with either the left or right bracket key lets you quickly reposition a window on the screen (Figure A). Specifically, the key combination:
- alt + [ moves a window to the left, and if pressed again, around the center of the screen.
- alt + ] moves a window to the right, and if pressed again, around the center of the screen.

How to make a split screen on Windows
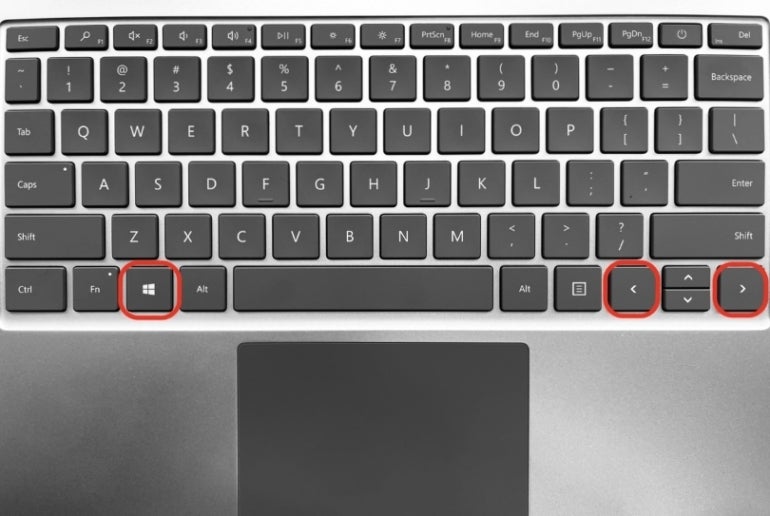
Keyboards intended for use with Windows systems often have a dedicated Windows key. This key, when pressed with either the left or right arrow key, lets you rapidly reposition an app in any of three positions (Figure B). Both key combinations — Windows key + left arrow and Windows key + right arrow — cycle the position of an app through left, right or center screen when pressed repeatedly in sequence.

How to make a split screen on macOS
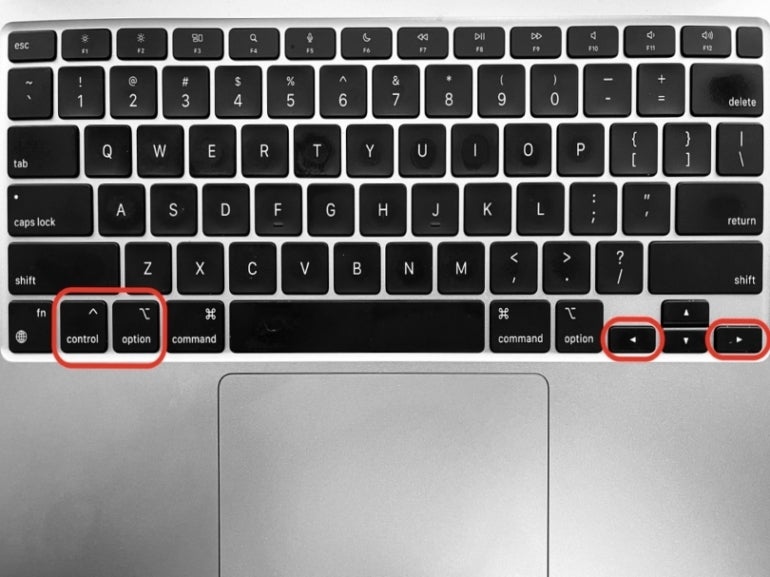
On a macOS system, a third-party app offers the most convenient way to use a key combination to snap an app to a side of the screen. I use the Magnet app ($7.99) on my device. Once installed and configured from the Mac App Store, the key combinations (as shown in Figure C) that move the active app to either side of the screen are:
- Control + option + left arrow, to position an app on the left.
- Control + option + right arrow, to position an app on the right.

Note: If you prefer not to purchase a third-party app, Apple does offer a manual way to move apps to a portion of the screen that uses app positioning options, rather than keyboard controls.
How to make a split view on iPadOS
The iPad offers several ways to position apps, including support for key combinations, such as when you use either an attached Smart Keyboard or an external Bluetooth keyboard.
SEE: Check out this iPadOS 17 cheat sheet.
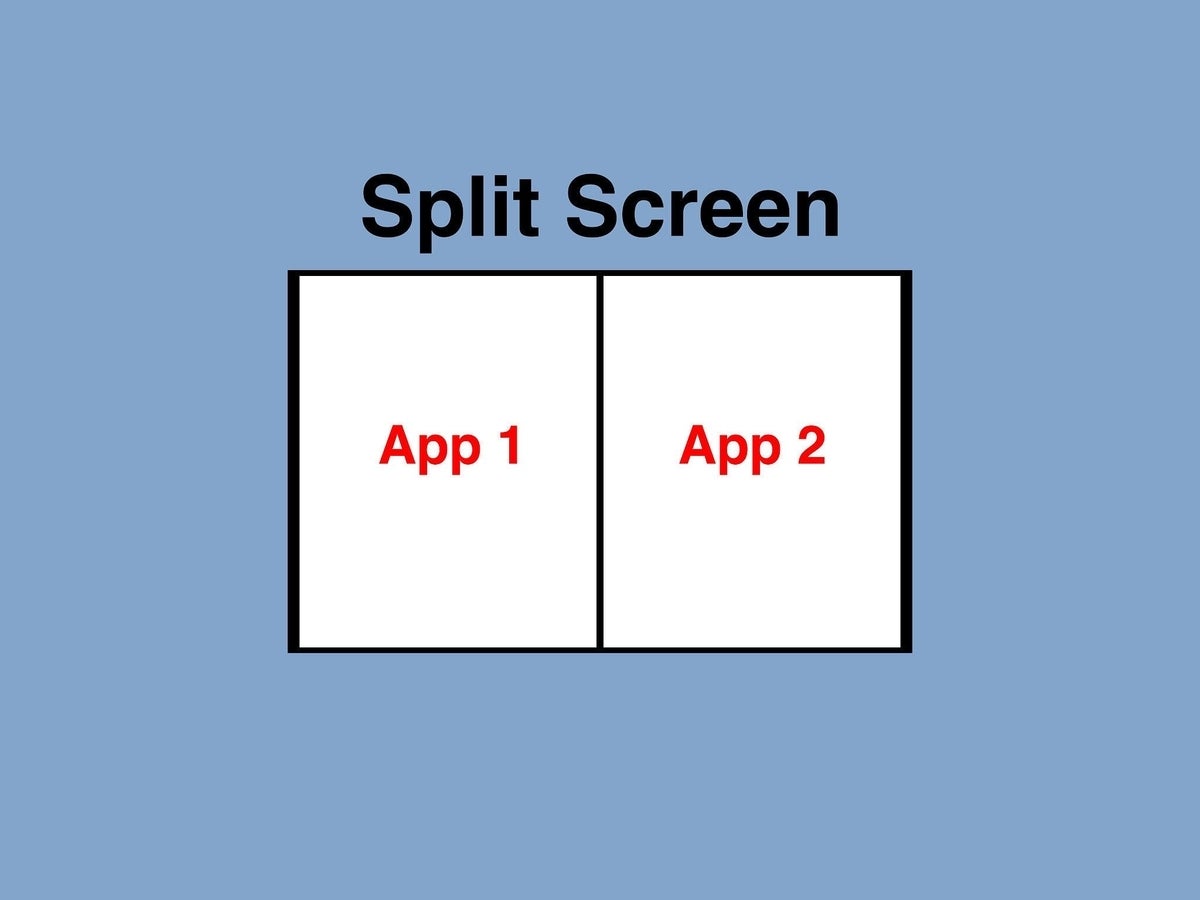
When using a keyboard designed for use with an iPad, press either Globe key + control + left arrow or Globe key + control + right arrow (Figure D). This takes the current app you are using and moves it to the selected side of the screen (i.e., left or right, respectively, in what Apple refers to as split view).

With the current app moved to the side, you may then select the additional app you want to use on the other portion of the screen (e.g., right or left). Select the additional app with a tap, either from a Home Screen or the App Library. Once selected, the two apps — your original active app as well as the additional app — will be displayed side by side on your iPad.
For additional controls, tap the three dots displayed near the top center of the screen above either app.
How do you use split screen?
In addition to having two different apps side-by-side, note that you may also open the same app in both windows. For example, when working on a long document, I sometimes open the same Google Doc in two different browser windows side-by-side. This lets me refer to text in one portion of the Doc while I write or edit in another area of the Doc. (The same tactic works well when you need to refer to different tabs within a Google Sheet.)
Do you use keyboard commands to position apps side-by-side on your laptop or desktop? Is this your standard setup, or something you use only rarely? Let me know how you configure your system to display two apps side-by-side, either with a comment below or on Twitter (@awolber).
